In Today’s world, virtual meetings and classes are preferred more than physical meetings, not only because of this ongoing global pandemic but also because of the wide use of Technology.
The idea of communicating with people through the internet not only saves time but also keeps all the employees and students scheduled up-to-date.
The Work And Study-From-Home policy has been started in almost all the countries in the world, which has also given the opportunity to the people to surf around the internet.
Zoom, Google Meet, Microsoft Teams, etc are some of the popular tools used by companies for collaborations/meetings.
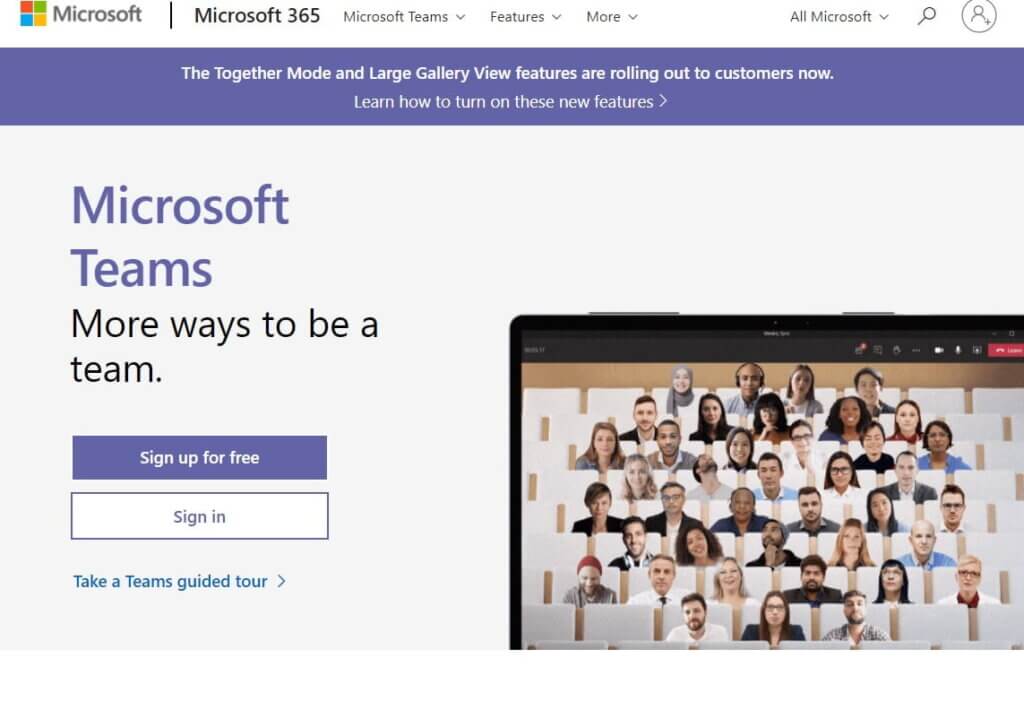
Microsoft Teams is an effective tool to communicate virtually.
To help you get a quick start, this article is a step-by-step guide on how to use Microsoft Teams.
What is Microsoft Teams?
Microsoft Teams is an internet communication and team collaboration tool that’s a part of the Microsoft Office 365 Suite.
While it’s mostly used for video conferencing by remote teams, that’s not the sole thing it can do.
What are the benefits of Microsoft Teams?
To create dedicated channels for specific tasks or teams.
To record audio and video meetings.
To easily share your screen with team members for detailed explanations.
To quickly search through archives using its command box.
How to use Microsoft Teams?
While using a web communication tool like Microsoft Teams, it’s essential to confirm that your team stays connected even if they’re thousands of miles away.
But if you are not familiar with this tool, this may be challenging for you.
If that’s the case for you, don’t worry!
Here’s a step-by-step guide that will definitely help you get started with Microsoft Teams:
Create an Account
You can directly create an account through a webpage by just visit on a Microsoft Team’s webpage.
For Desktop
Step 1:
You have to go to the Microsoft Teams webpage and click on the profile icon at the top right side of your screen.

Step 2:
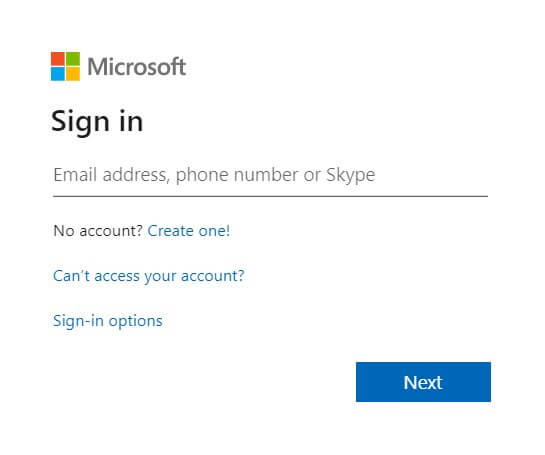
After clicking on the profile icon, the “Sign in” page will appear, click on the “Create One” link to set up a new account.
Step3:
There will be a “Create Account” window, enter your email address from which you want to join the team and click on the “Next” button.

Step 4:
After that, follow the on-screen instruction to create a password and enter your details that you want to show on the pages that follow.
Once you have entered all your details and verified your email, you can visit the Microsoft Teams homepage to start using the Teams web app.
For Mobile
To create a Microsoft Account on your phone, you have to simply visit the webpage of Microsoft Teams and follow the same instruction mentioned above.
Download Microsoft Teams App
For Desktop
Step 1:
To download the Microsoft Teams desktop app, you have to go to the Microsoft Team’s web page and click on “Download Teams” at the top of your screen.

Step2:
After that You have to click on the “Download for Desktop” button which directly jumps to the download link for either Mac OS or Windows, depending upon your system.
Step 3:
You have to open the downloaded file and then follow the instruction provided to install Microsoft Teams
For Mobile
Step1:
To download Microsoft Teams on your phone, you have to go to your play store and download the Microsoft Teams app.
Step2:
After finishing the download, open the app, and log into your account to start using teams.
After logging into your team’s account, you can be prompted with what organization or people you’ll be using the Teams app with.
You can choose either a Business, School, or with Family and Friends. What’s great about selecting the environment is that each option will slightly customize your Team’s experience to these profiles.
Education Account
If you are in an education account, you can use some different options than a standard business account.
While creating a team, you will be presented with a team type.
This will include the following.
- Class: Discussions, group projects, assignments
- Professional Learning Community (PLC): Educator working group
- Staff: School administration and development
- Other: Clubs, study groups, after school activities
How To Create Teams and Channels?
Create a Team
For Desktop
Step 1:
You have to open the Microsoft Teams app and click on the “Join or create a team” option on the bottom-left section of the page.
Step 2:
On the new screen that appears, you have to click on the “Create team” button.

Step 3:
On that screen, you can choose:
- Build a team from Scratch
- Create it from an existing Office 365 group or team.
This second option is only for those businesses that already have an office 365 group.
Groups are a quick way to create a team with members who are already attached.
Step 4:
Next, to define who’s part of the Team.
From here, You can make your choice based on How you want to organize your platform.
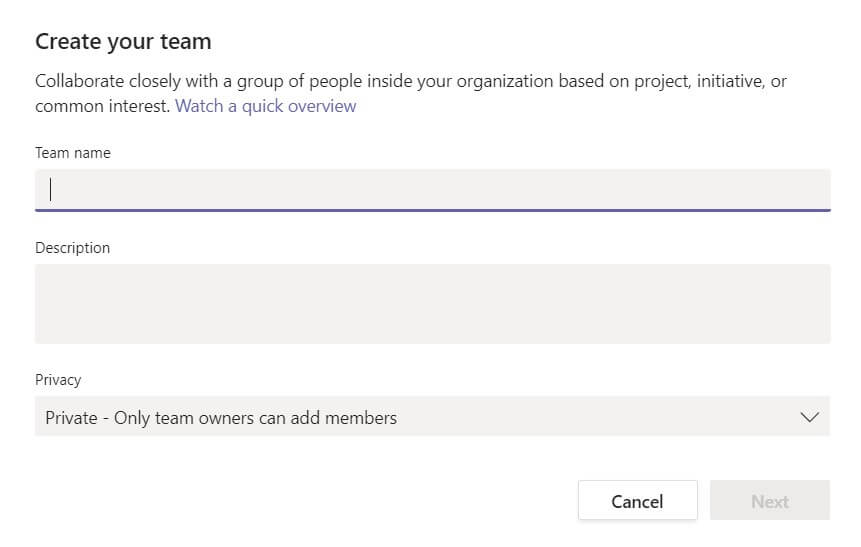
- Private: If you want to add specific members to your team then you can select Private.
- Public: It is best for teams with changing members.
- Org-Wide: It will add everyone in your business.
Step 5:
Once you have chosen the type of team you want to create, you have to give a name to your team.
You have to choose the appropriate team name and then click the “Create” button at the bottom right of your screen.
Step 6:
After that, You can see your team name appear on the left sidebar of your Teams app.
To add members to the team, you have to click on the three dots next to the team name and select ”Add Member” and you have to type the name of the members you want to add.
You can also put them as a guest if they were external users from outside your organization.
For Mobile
Step 1:
You have to Open the Microsoft Teams app.
Step 2:
And then, tap on the “Teams” icon at the bottom of your screen, then you will see an icon of “two people and a plus sign” in the top right. You should reach the Manage teams page.
Step 3:
Create your new team, give it a name, add a description, and set the privacy settings.
Once you’ve created the team, click the “More options” icon with three dots, and then select “Add members.” Then you have to type the names of your team members to add them.
Create a Channel
You’ve already set up a team, now it’s time to add channels.
By default, Microsoft Teams will automatically create a general channel for all team members.
To create additional channels, follow the steps below:
For Desktop
Step 1:
At first, you have to click on the three dots next to the Team you want to create a new channel in, and click on the “Add channel” option.
Step 2:
Within the pop-up window that appears, you can:
Select a channel name.
And you can add a channel description.
You can change privacy settings to allow access to every team member or only you can select a few members.
Once you have finished these settings, click on the “Add” button to create the channel.
For Mobile
Step 1:
In the mobile app, you have to click on the Teams icon at the bottom.
Step 2:
You have to tap the three dots (“More options” icon) for the team you want to add to the channel. Then, you can click on “Manage options.”
Step 3:
After that click on “Add +” to begin creating a new channel. Add a name for the channel and a description if you want to.
Step 4:
If you want to create a standard channel for your team, simply tap “Done”. And to create a private channel, tap on “Privacy,” select “Private” then go back and tap “Done”
Step 5:
If you choose to create a private channel, then the “add members” screen will automatically show. You can add members itself, or also can skip this step and add members later.
Channel Conversation:
When chatting in a channel, everyone will be able to see your conversation as well as you can easily upload files, gifs, emojis badges, stickers, and many more in your conversation.
When you upload a file to your conversation, you will get the options of browsing teams and channels, uploading from Drive, or from your computer.
Private Chat:
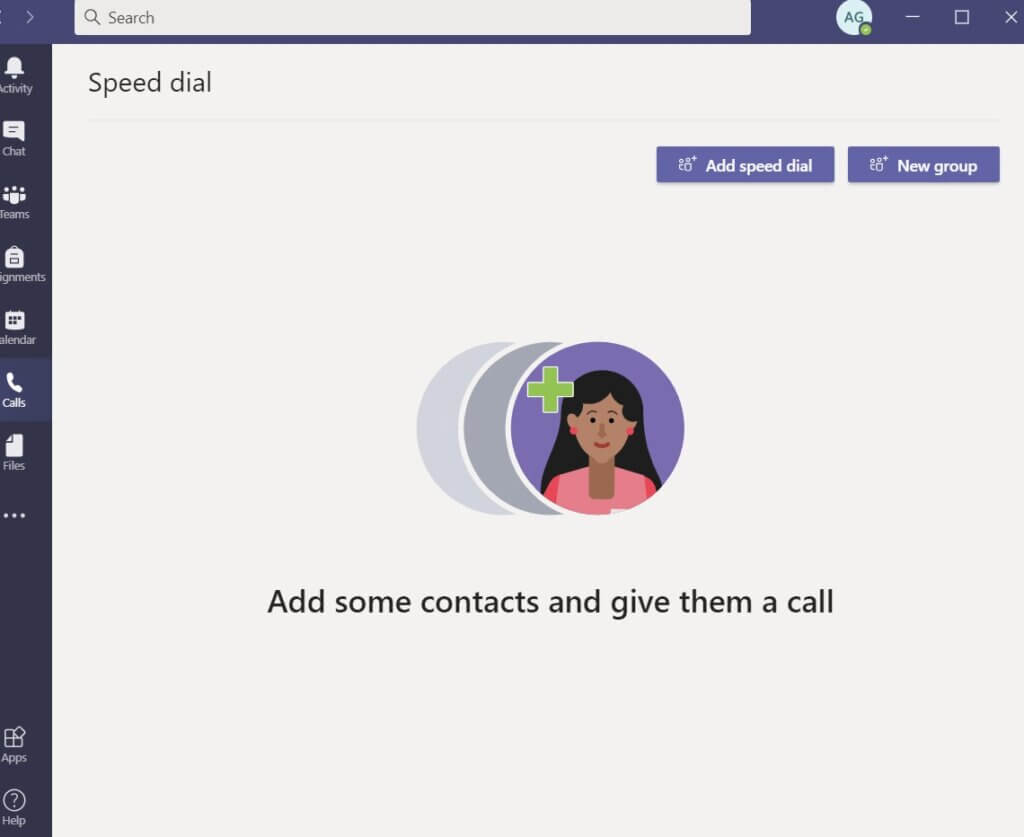
While the main chat on your channel will be shown to every member of your team, you can also start a private chat with one or more team members.
You can do so by clicking the ‘chat’ feature on the left-hand side of your screen and selecting the individual team member.
You will get all the same options in your private chat, including the ability to add documents, stickers, gifs, etc.
Video Chat:
Within your chat conversations, you’ll be able to find the video chat option within other additional options, which appears as a little video icon.
If you hover your mouse over the “Meet Now” button, then it’ll start a video call.
While the Meet Now option does automatically default to video, If you want to disable the video then easily you can by clicking on it again.
You can also give the meeting a topic title as well. Once you’ve made those choices, you proceed to begin the meeting and wait in the Meeting Room for others to join if you are the only one in attendance.
You can also share your desktop, or share the whiteboard functionality, showing it much in the same way that you’d use it in person. You can also project a PowerPoint.
Schedule Meetings
Sometimes you will also have some important meetings that need everyone’s presence, it’s best to schedule them in advance. This way, team members can clear their schedules for the meeting and sync it with their calendars.
For Desktop
Step 1:
You can select “Schedule a Meeting” below the compose box.
Step 2:
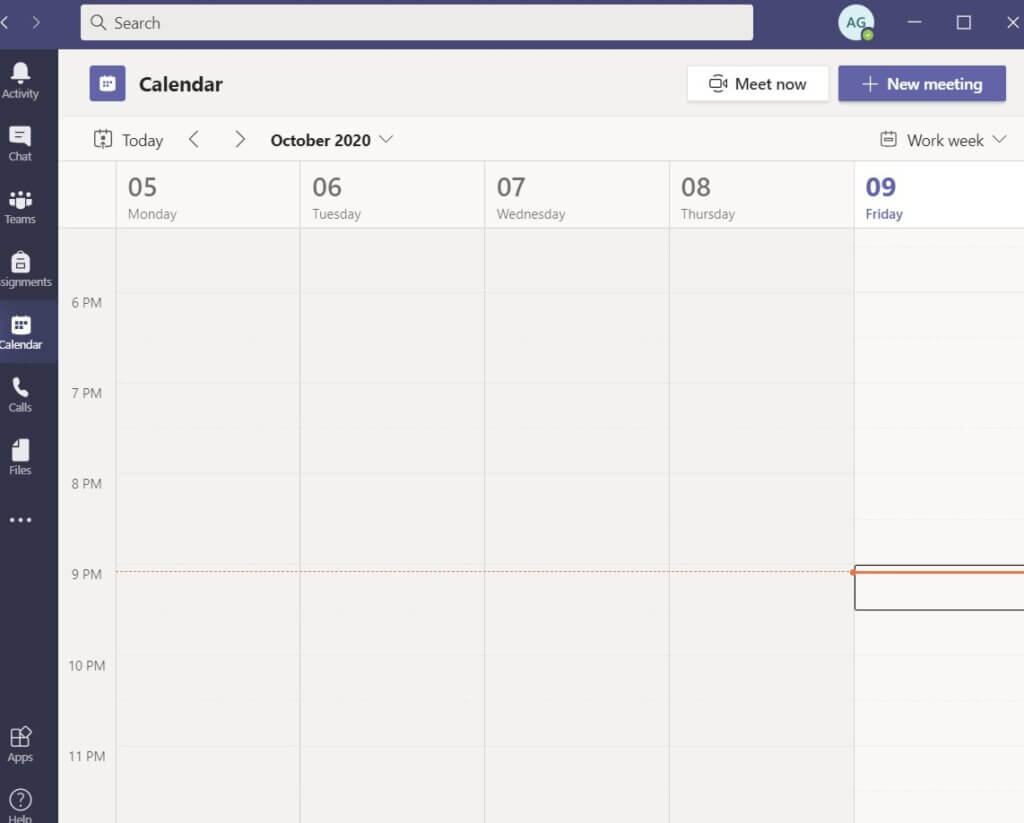
After that go to “Calendar” on the left panel and click on “New meeting,” which is located at the top right of your screen.
Step 3:
Once you’ve selected a time range of your meeting in the calendar, a form will be visible to help you out.
Step 4:
You can add a title name for the meeting, invite participants, and also can add other details. The Scheduling Assistant will help you to check everyone’s availability.
Step 5:
You have to click the “Save” button to complete the process. The invitation will automatically be sent to each participant’s Outlook inbox!
For Mobile
Step 1:
For mobile, you can tap the Calendar at the bottom of the app and go to “Schedule a meeting” near the top-right of your screen.
Step 2:
Then tap on “Add participants” to invite everyone you want.
Step 3:
Set the start time and end time for the meeting you schedule. Write a description as well.
Step 4:
At last, click the “Done” button to finish scheduling your Teams meeting!
Conclusions:
Remote work isn’t always a piece of cake, especially when you’re not familiar with it.
However, using the right tools, it’s much more comfortable! Right?

After the above-mentioned guideline, you know how to set up and use Microsoft Teams, your organization can collaborate easily with its powerful features.
